Publish your website
Your website is online right away at its free subdomain. Publish it to show it on your own domain.
On this page
Your website is online from the start, at a free subdomain that always shows the newest version. To put it on your own domain, you add the domain and publish. Your own domain then shows the version you published, until you publish again.
Open the publish window
-
At the top right of the editor, select Publish.

Publish is at the top right of the editor. -
The Publish & domains window opens, with your Free subdomain and your Custom domains.
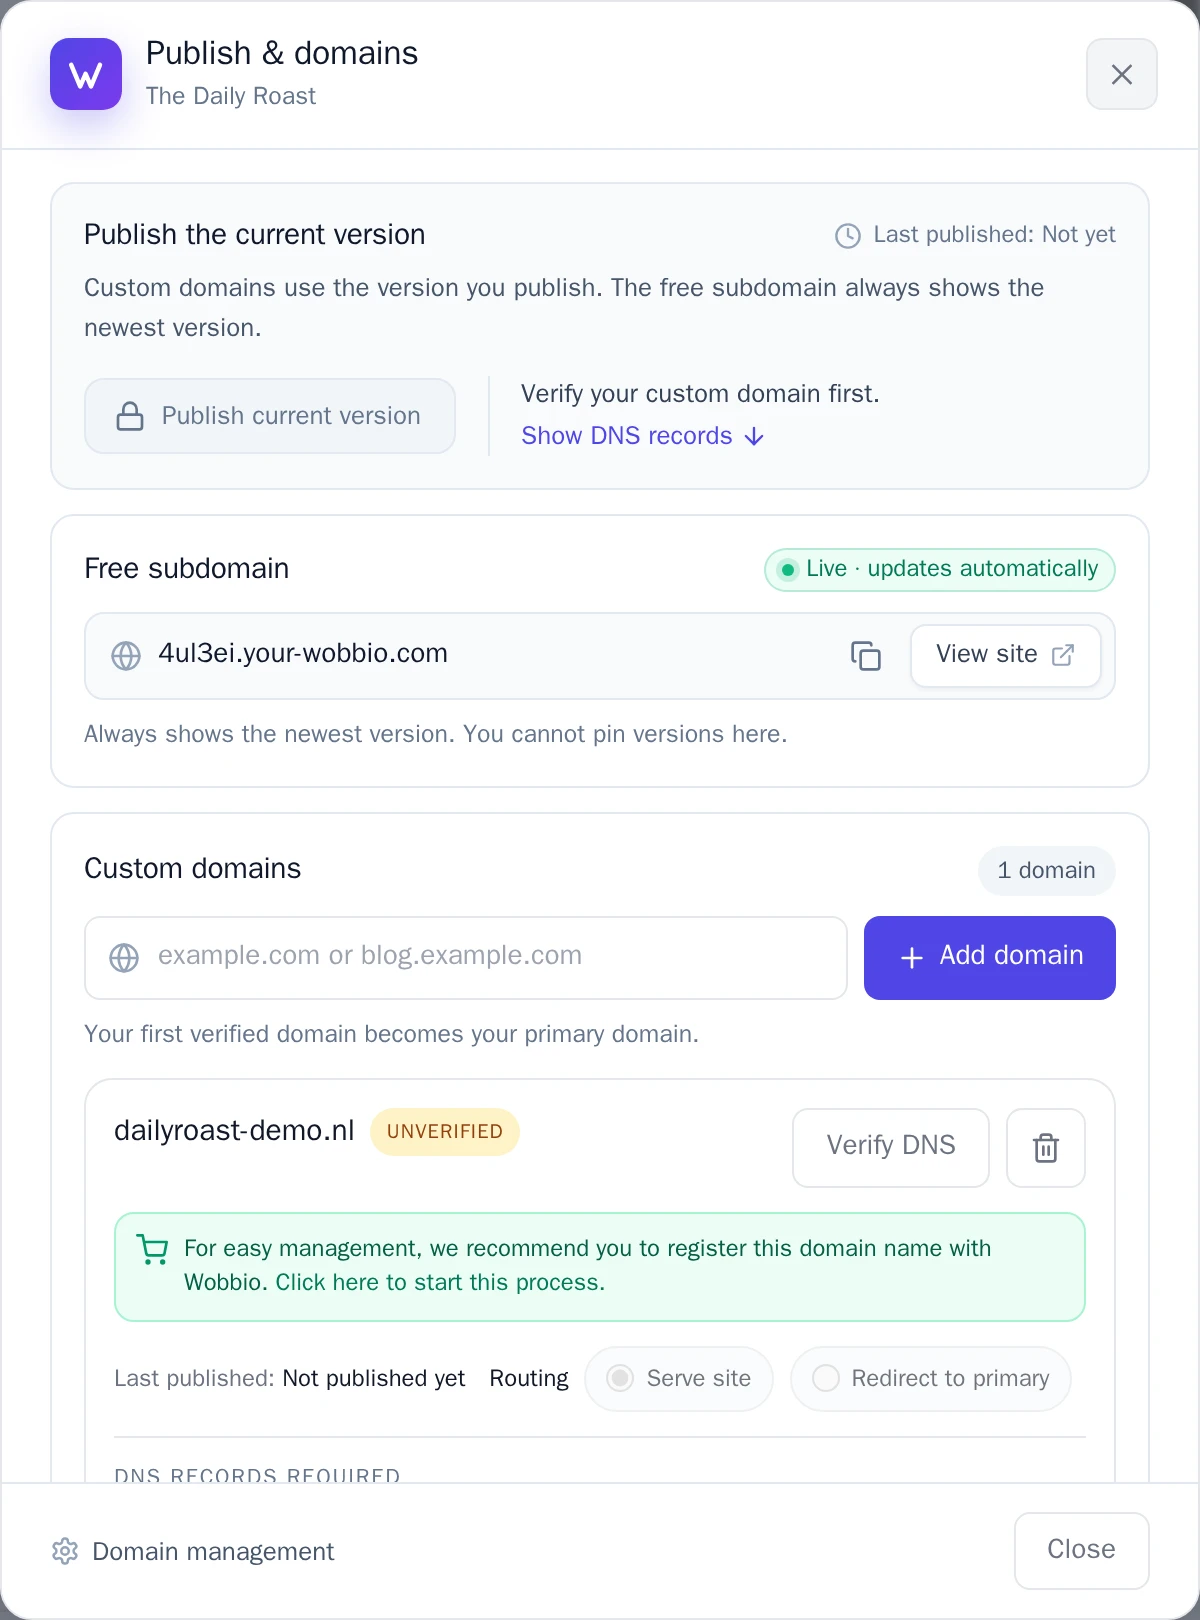
The Publish & domains window.
Your free subdomain
Under Free subdomain is the address your website has from the start. It says Live · updates automatically: every change you make is on it right away.
- Select View site to open your website in a new tab.
- Select the copy icon next to the address to copy it, for example to send it to someone.
Publish to your own domain
- Under Custom domains, type your domain, like
example.com, and select Add domain. - The window then shows how to verify the domain and which DNS records it needs. Follow those steps: Connect your own domain explains them.
- When the domain is verified, select Publish current version.
Until a domain is verified, Publish current version is locked and the window says what is missing. Your own domain keeps the version you published. After more changes, select Publish current version again.
If the Site check found problems
The window says how many problems the Site check found with links, images or sections. Select View to see them. You can publish anyway: the site check never stops you.
The publish menu
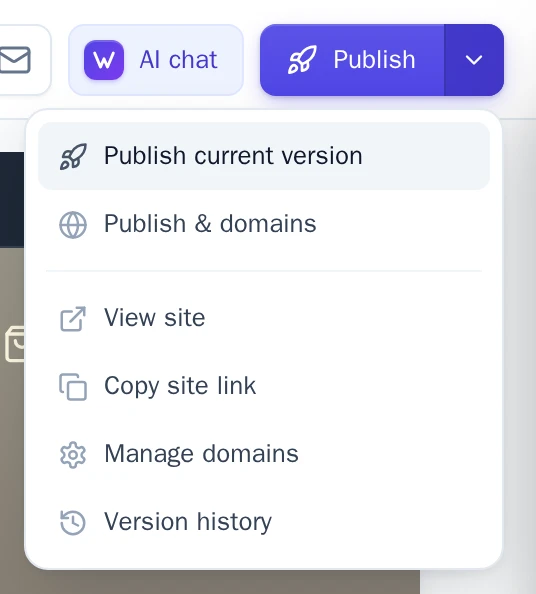
The arrow next to Publish opens a menu with shortcuts: Publish current version, Publish & domains, View site, Copy site link, Manage domains and Version history.