How to use the Wobbio editor interface

Discover all the basics about the main tools in the Wobbio editor interface.

Updated 260 days ago 2 min read

How to use the Wobbio editor interface

Here’s a quick walkthrough of the Wobbio editor interface so you can build and check your site. The core move is switching between Edit and Preview.

Steps

  1. Use the Edit / Preview toggle to switch modes. In Preview, click around to test interactions. In Edit, select a section so you can describe changes.
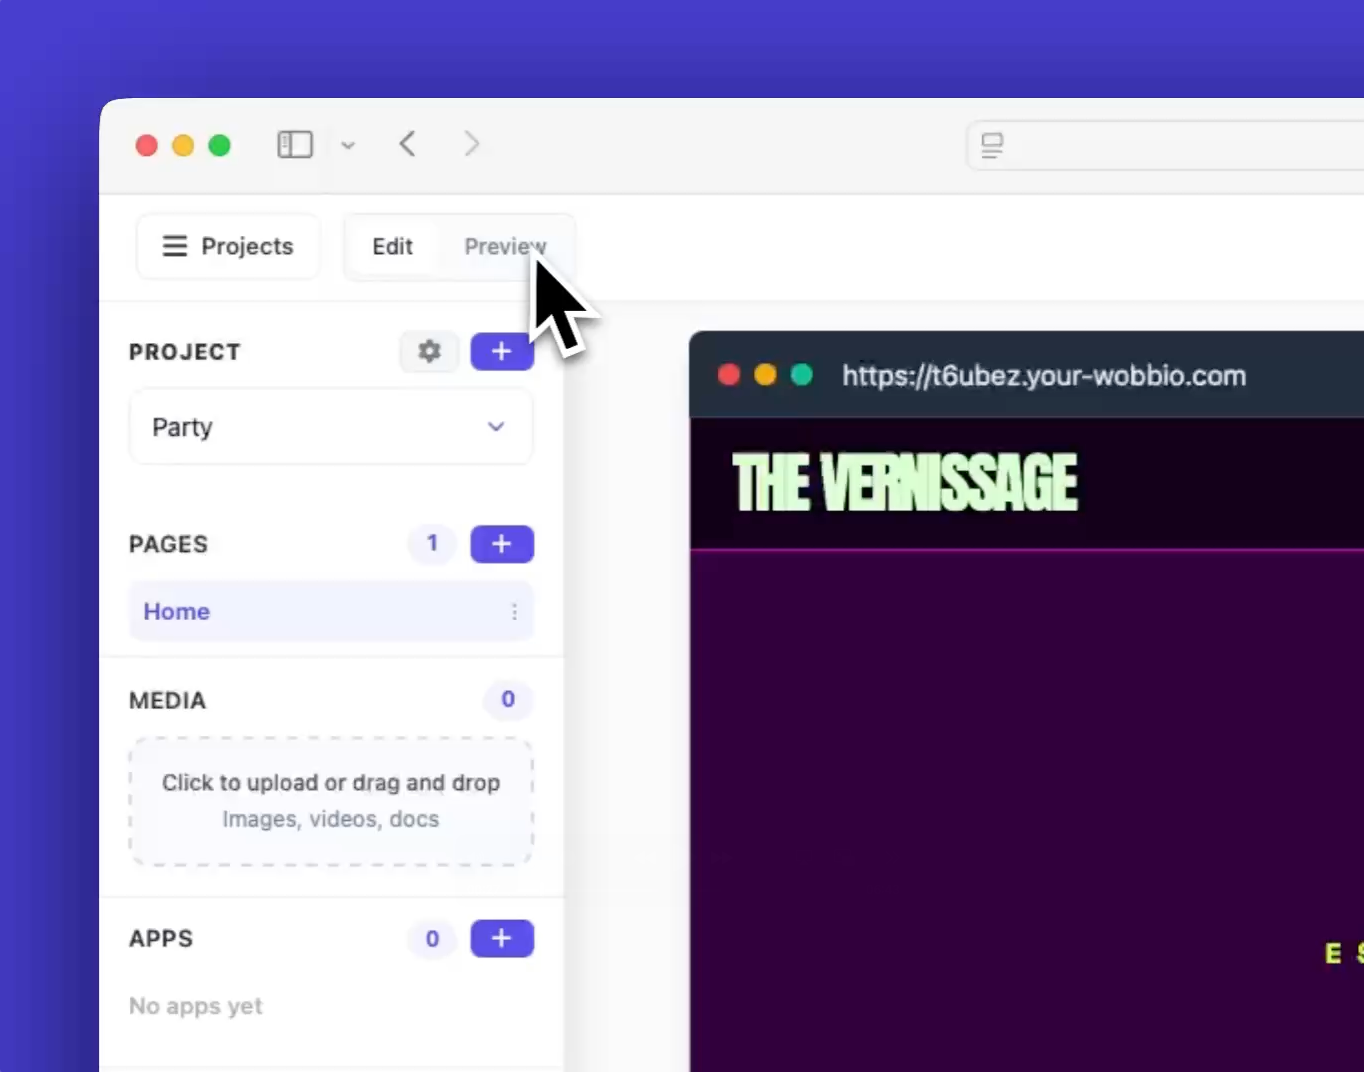
    Edit and preview toggle
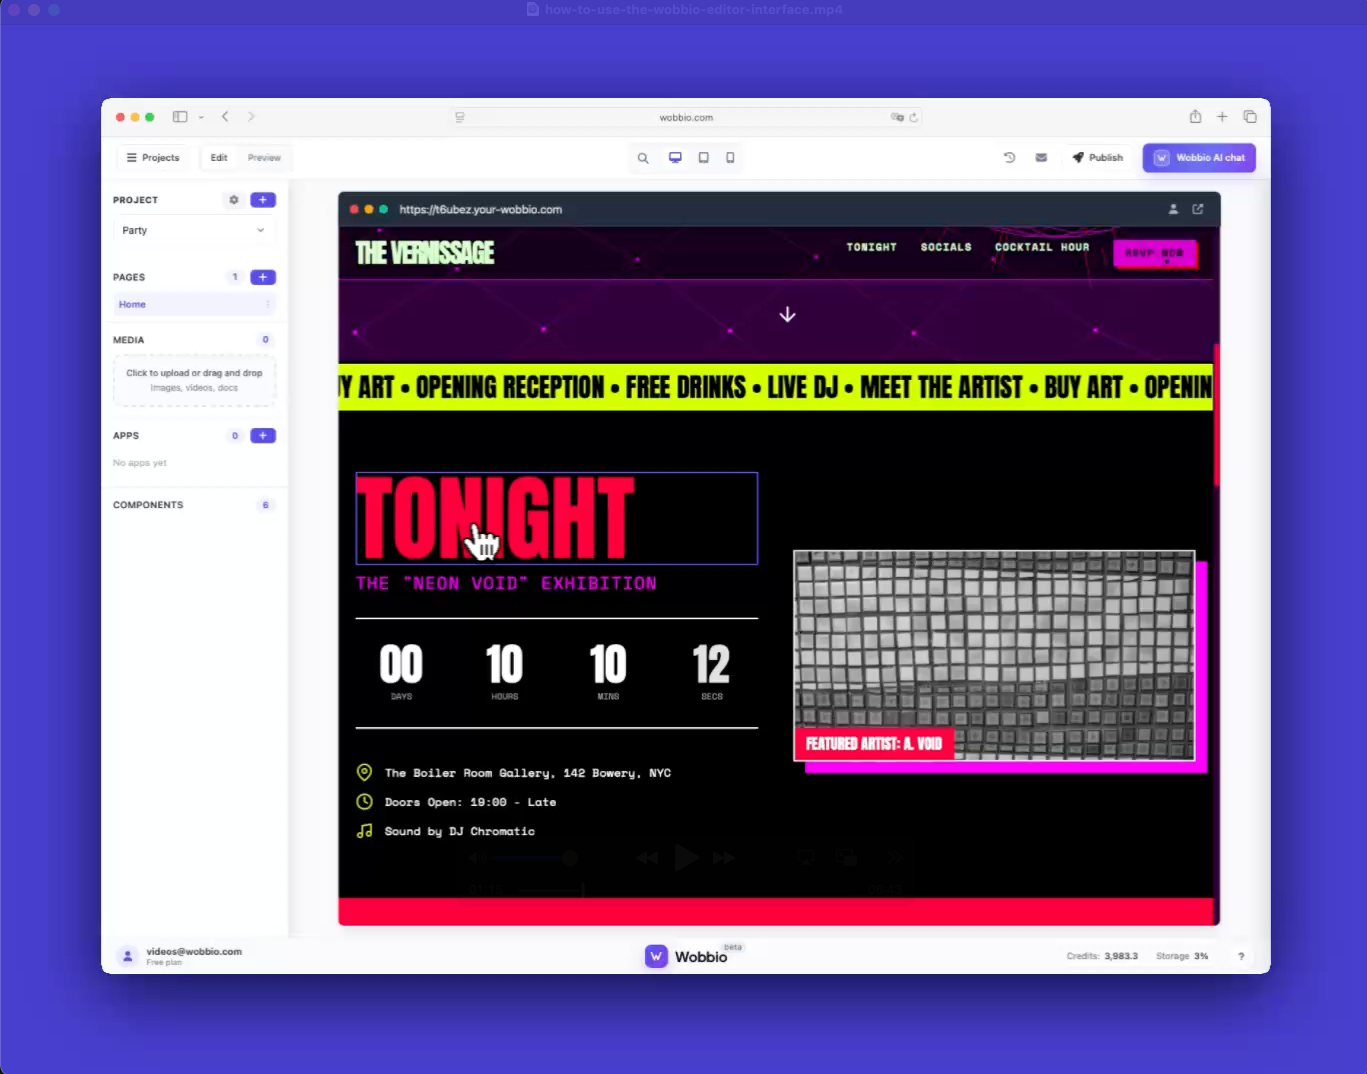
    Select a section to change

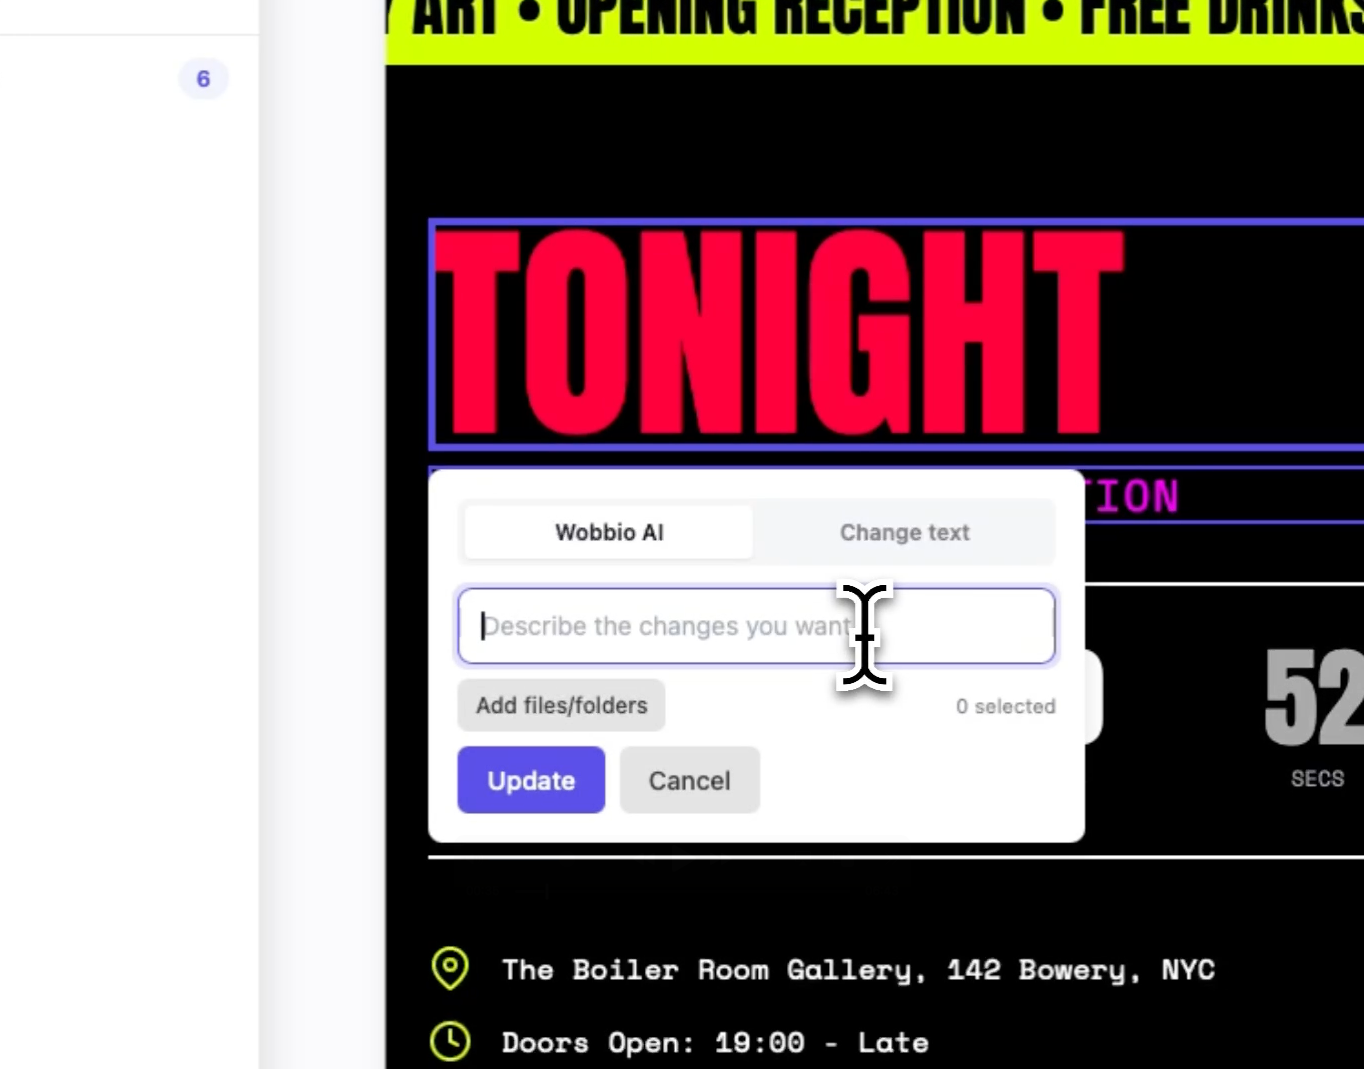
  2. For a quick text tweak, double-click the text, type your change, and click Save. Instant update.
    Change text by double-clicking

  3. For bigger changes, open Wobbio AI chat and describe what you want. For example: “Change the pink button to blue. Don’t change anything else.”
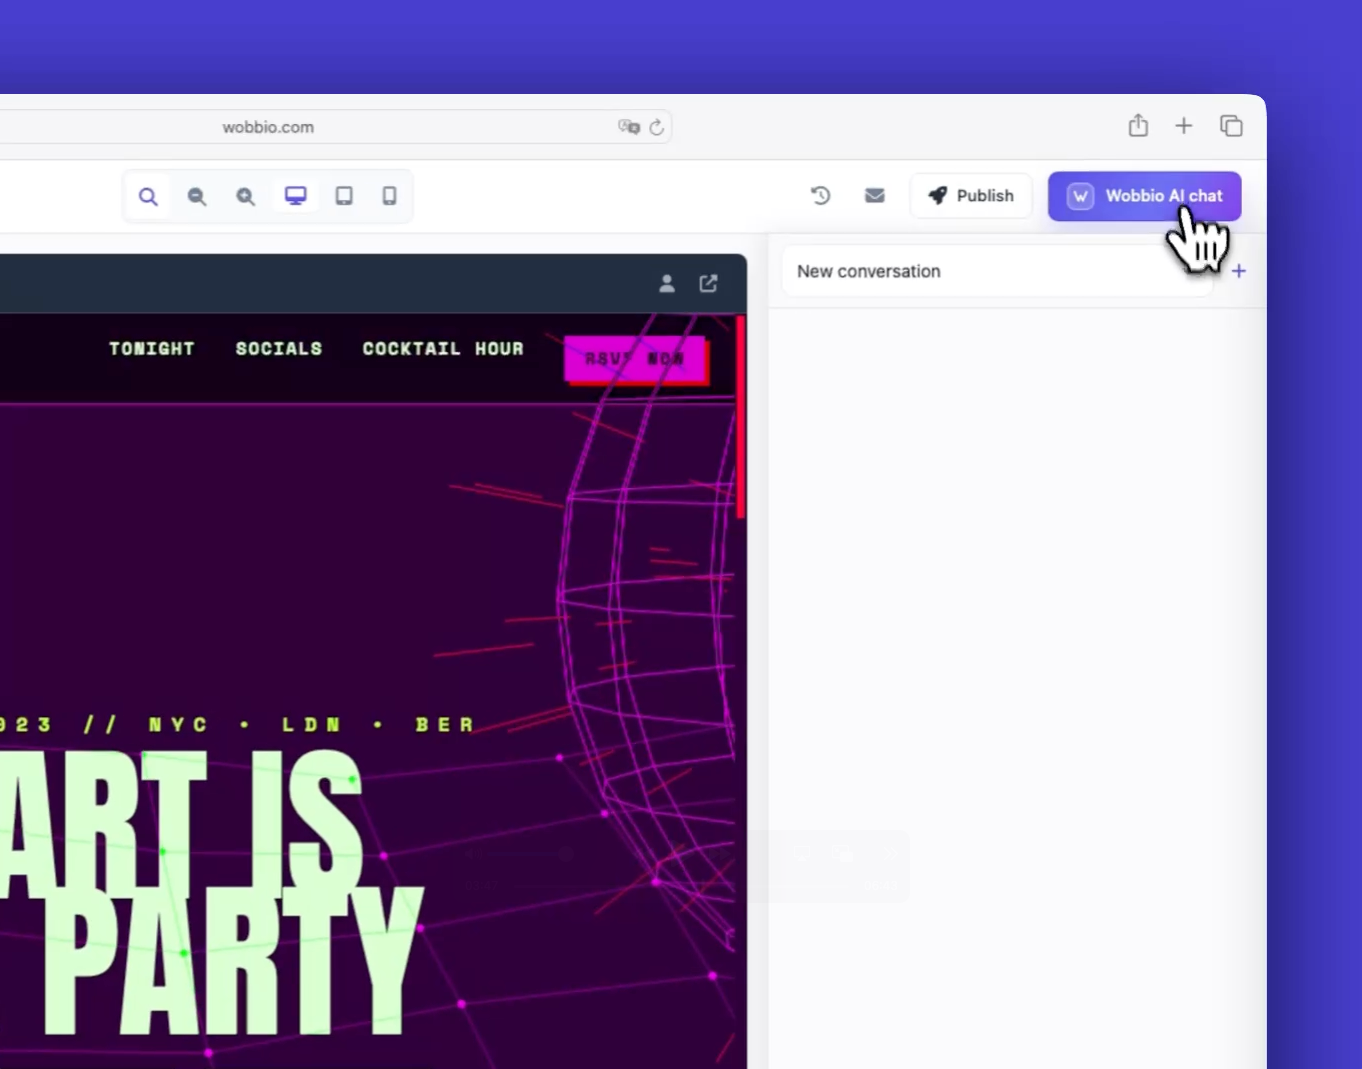
    Wobbio AI chat sidebar

  4. While the AI works, you can minimize the progress overlay and keep moving. You can also queue more requests from other sections — they’ll run in order.
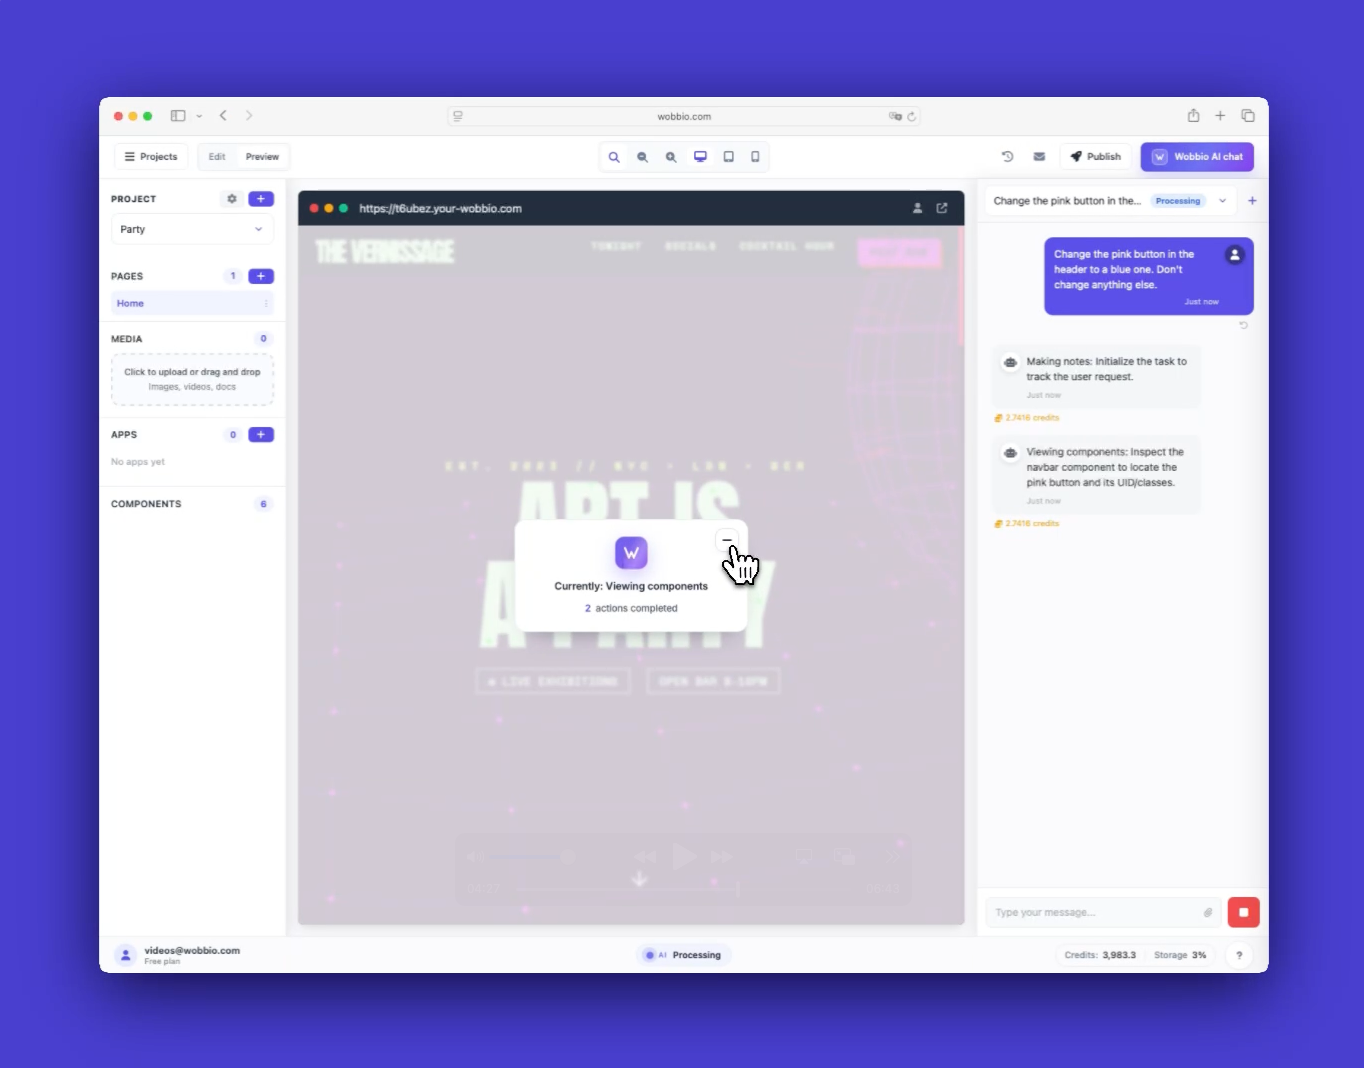
    Minimize AI progress overlay

  5. Preview across devices. Use the device selector to check Desktop, Tablet, and Mobile views. You can also preview very large screens and then reset the view.
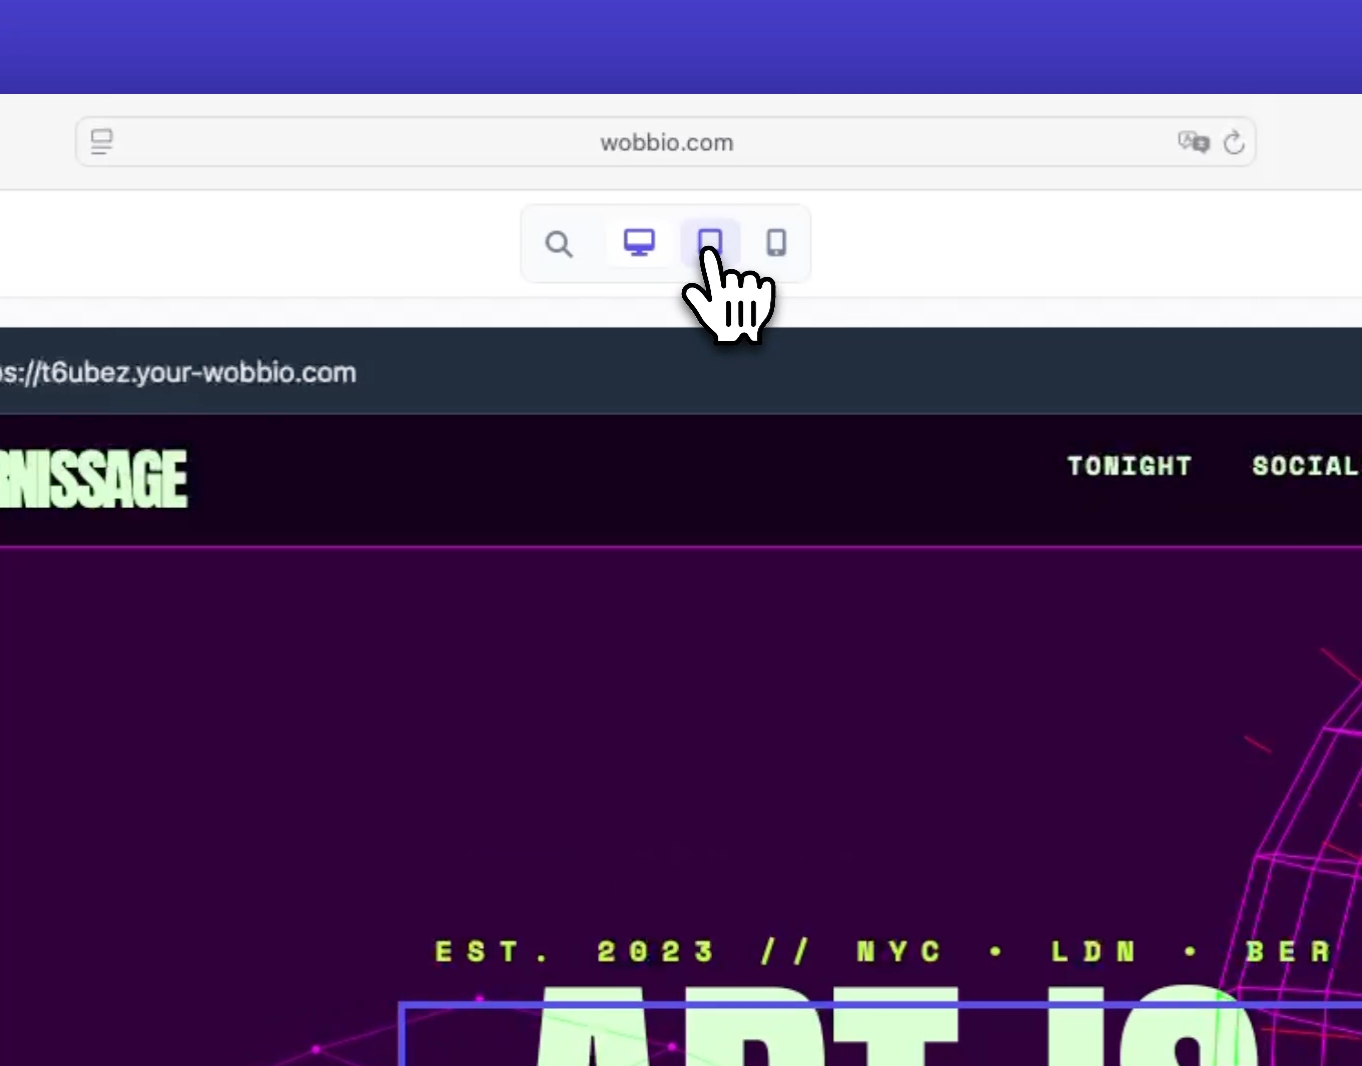
    Preview device selector

  6. Open the project settings panel to update the project name, description, time zone, and sender email. That sender email is used for things like the contact form, e-commerce, petition, and service booking apps.
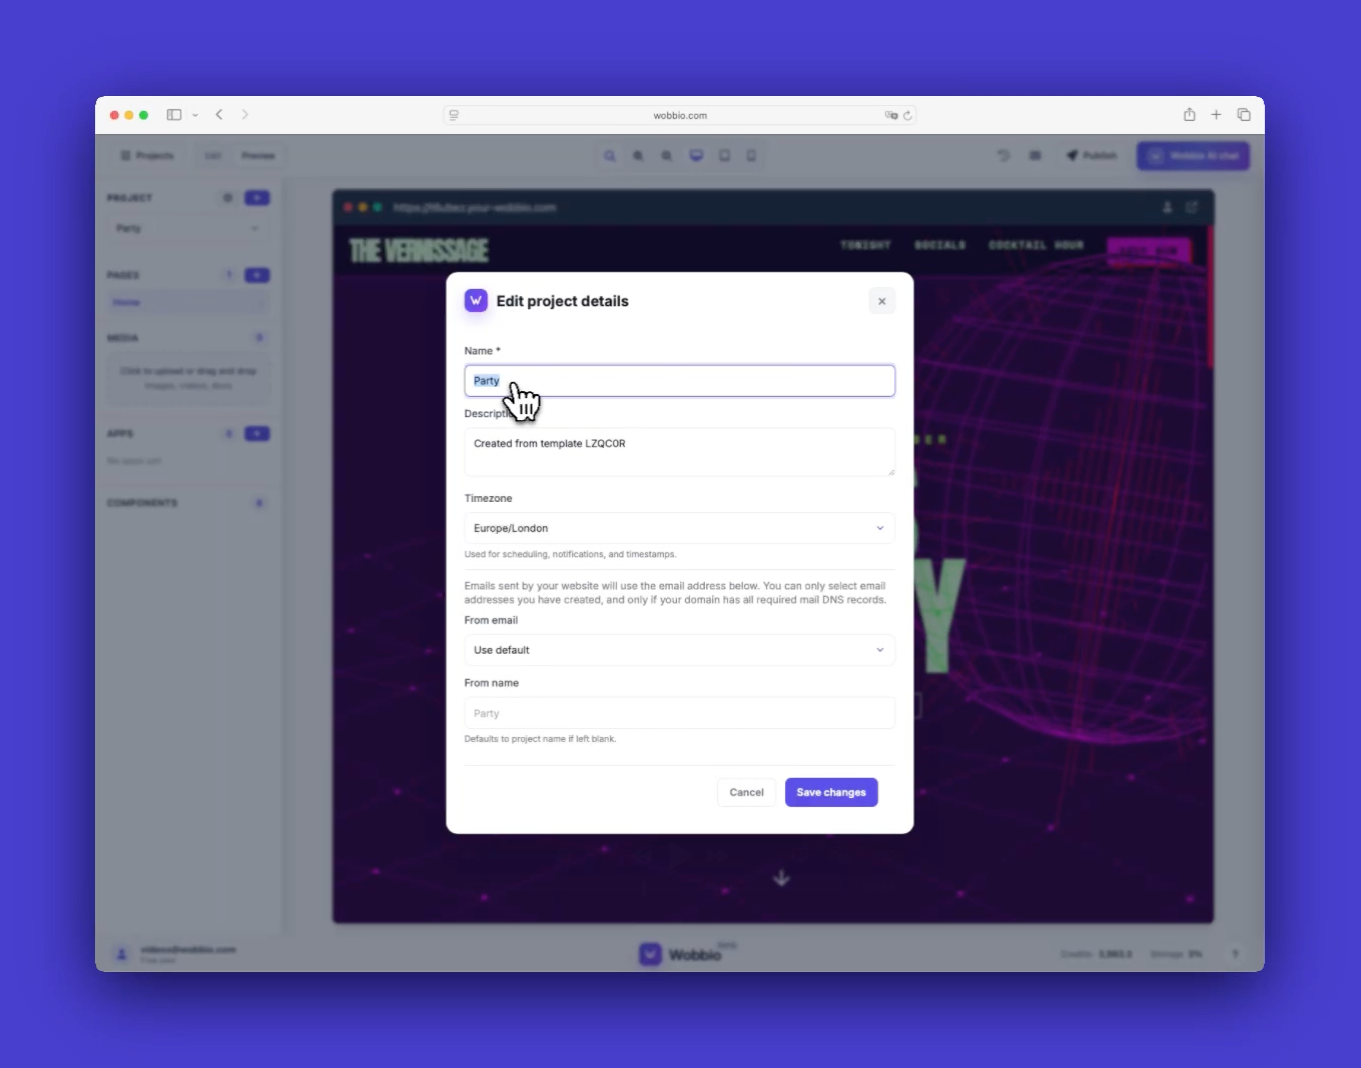
    Project settings

  7. Open page settings to review the page name and slug (URL). These are usually managed by Wobbio AI when you enable apps, so change them only if you have a specific reason.
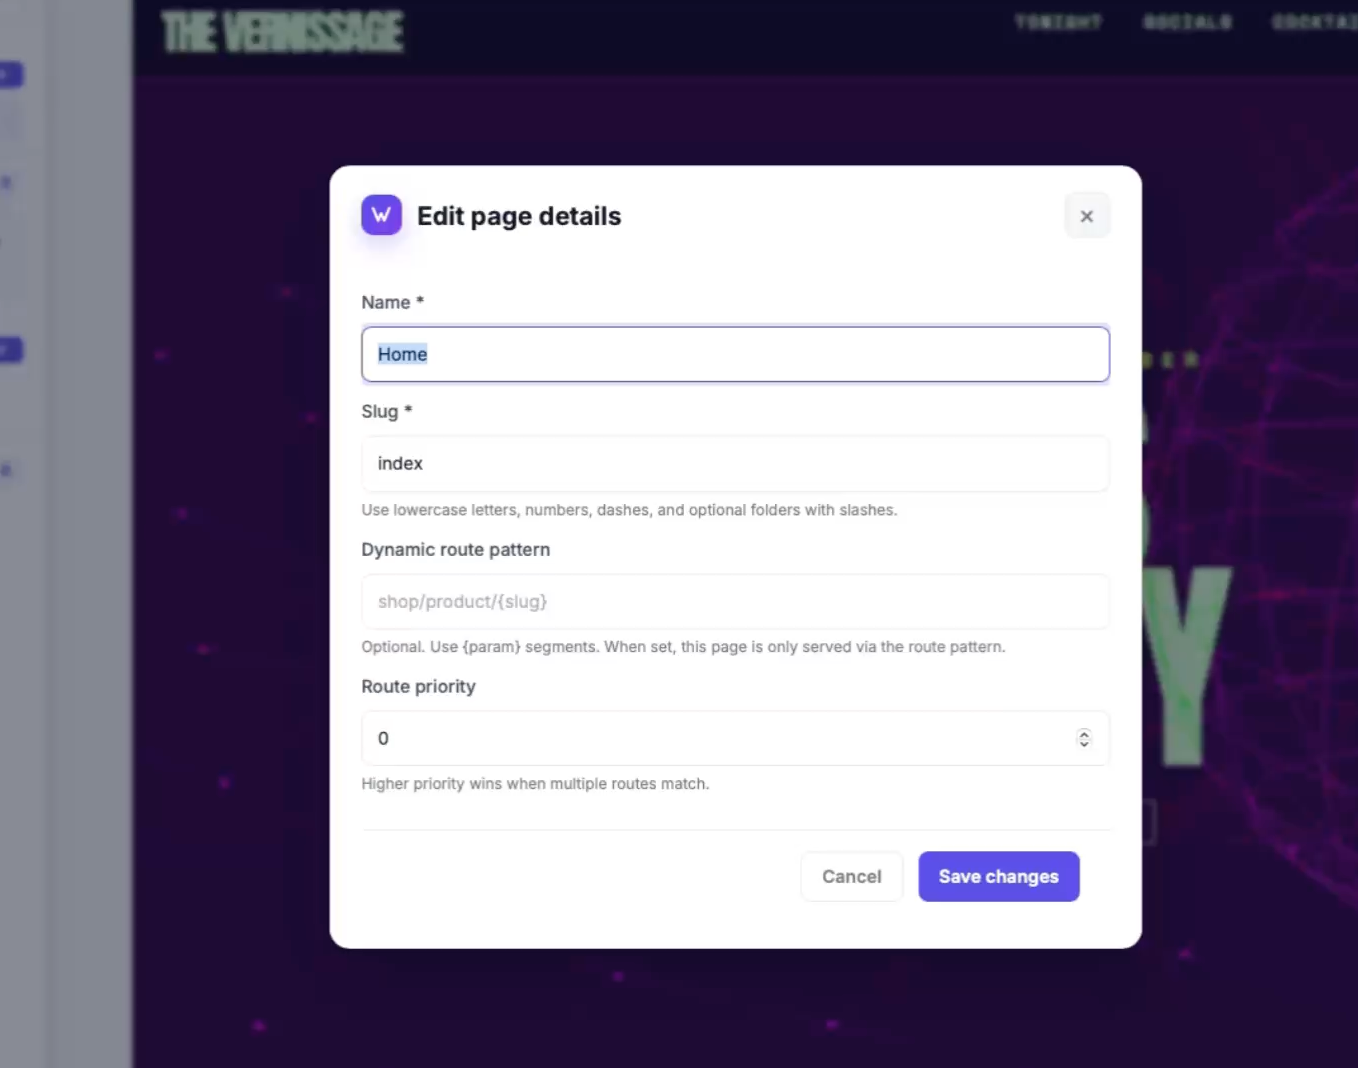
    Page settings

  8. Need to undo? In Wobbio AI chat, choose Restore checkpoint, then confirm with Restore to roll back to that checkpoint.
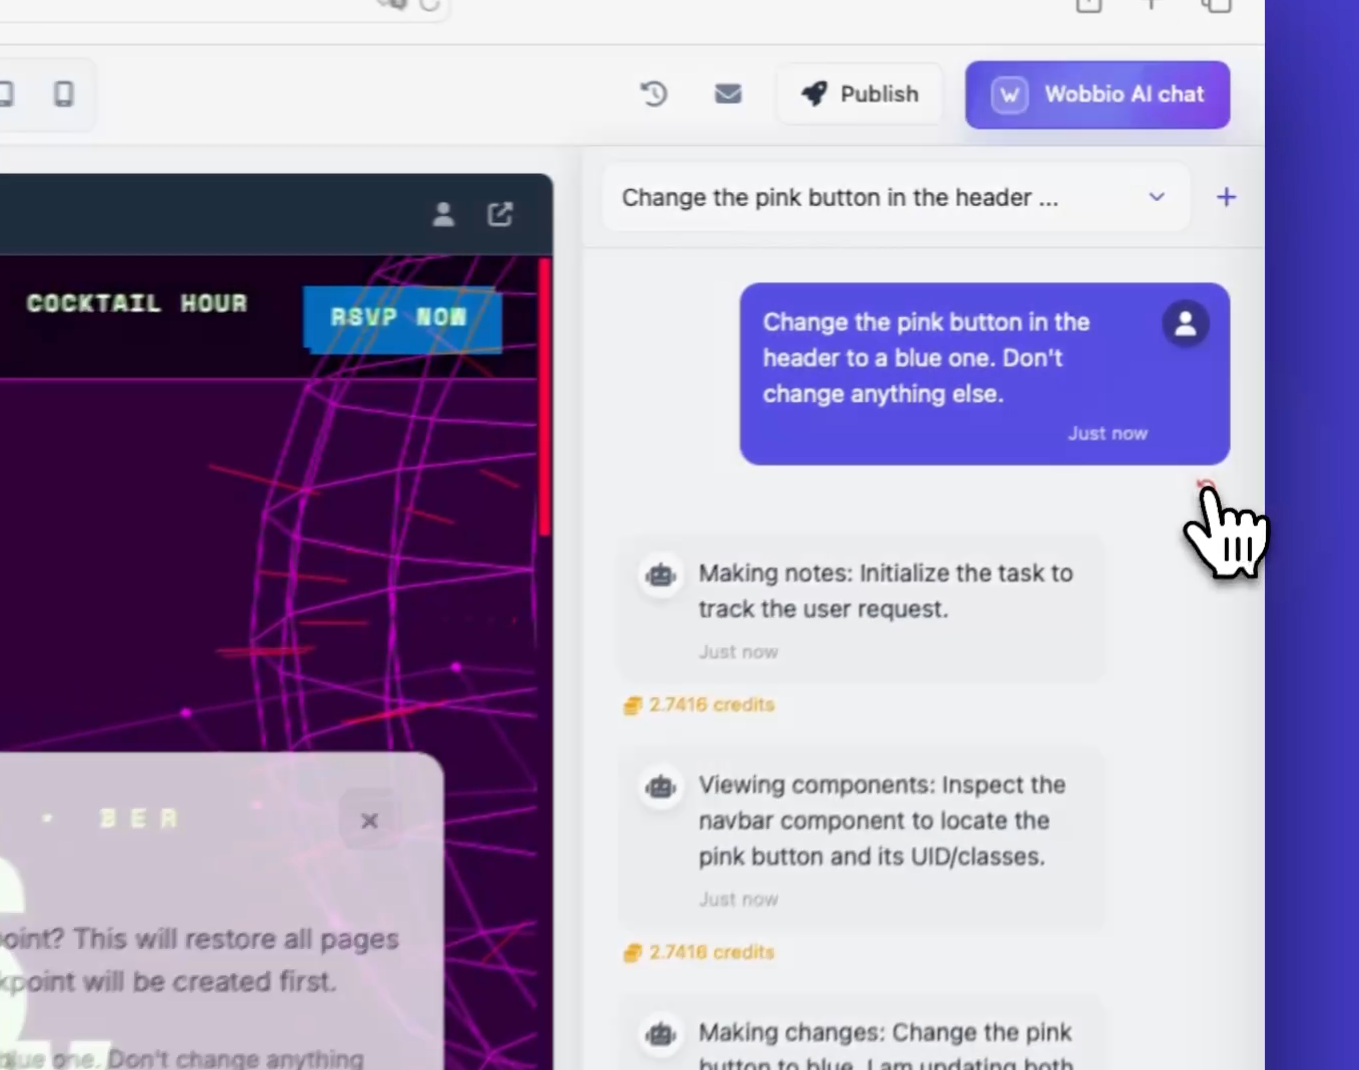
    Restore checkpoint via chat sidebar

  9. To see the site like a real visitor, click Open in new tab to open it in a browser window.
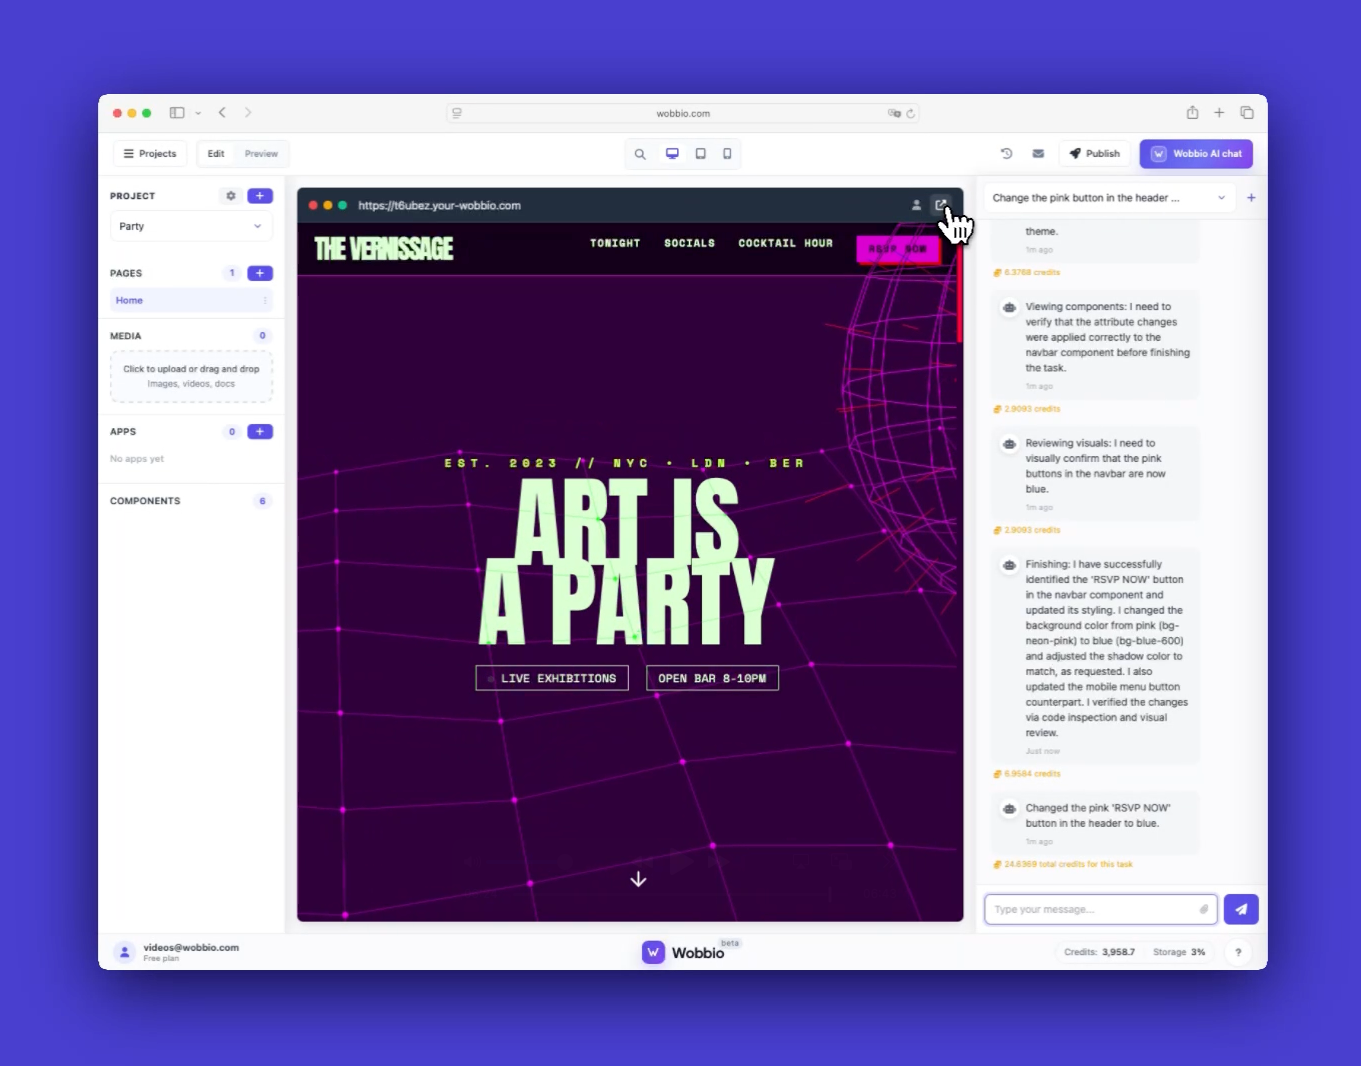
    Open website in a browser window

Tutorials

Learn how to use Wobbio

Adding a new page
2:52

Adding a new page

In this tutorial, we'll show you how to add a new page to your website.

Adding your own images to your website
5:05

Adding your own images to your website

Find out how to upload your own images and ask Wobbio AI to use them on your website.

How to use the Wobbio editor interface
6:33

How to use the Wobbio editor interface

Discover all the basics about the main tools in the Wobbio editor interface.

Migrating your outdated website into Wobbio
3:38

Migrating your outdated website into Wobbio

All information you need about migrating your old website to Wobbio.

How to generate images for your website
1:58

How to generate images for your website

Learn how to generate custom images with Wobbio AI and add them to your website.

How to customize AI chat settings
6:47

How to customize AI chat settings

Learn how to adjust your AI chat settings to achieve your desired results.

How to register or transfer a domain name
3:16

How to register or transfer a domain name

Learn how to register an available domain name or transfer a domain you already own to Wobbio.

How to publish your website to your domain name
1:59

How to publish your website to your domain name

Learn how to publish your Wobbio website to your own domain name, either by using Wobbio domains or by setting DNS records yourself.

Need help?

Connect with our team

Online
Chat on WhatsApp
Or connect via