Add images: upload or generate with AI
Upload your own photos or let the AI make new ones, and then use them on your pages.
On this page
Your images live in your media library. You can upload your own photos there, or let the AI make new ones. Then you ask the AI chat to use them on a page.
Open your media library
In the editor's side menu, under In this project, select Media. Your media library opens. To go back, select Back to editor at the top left.
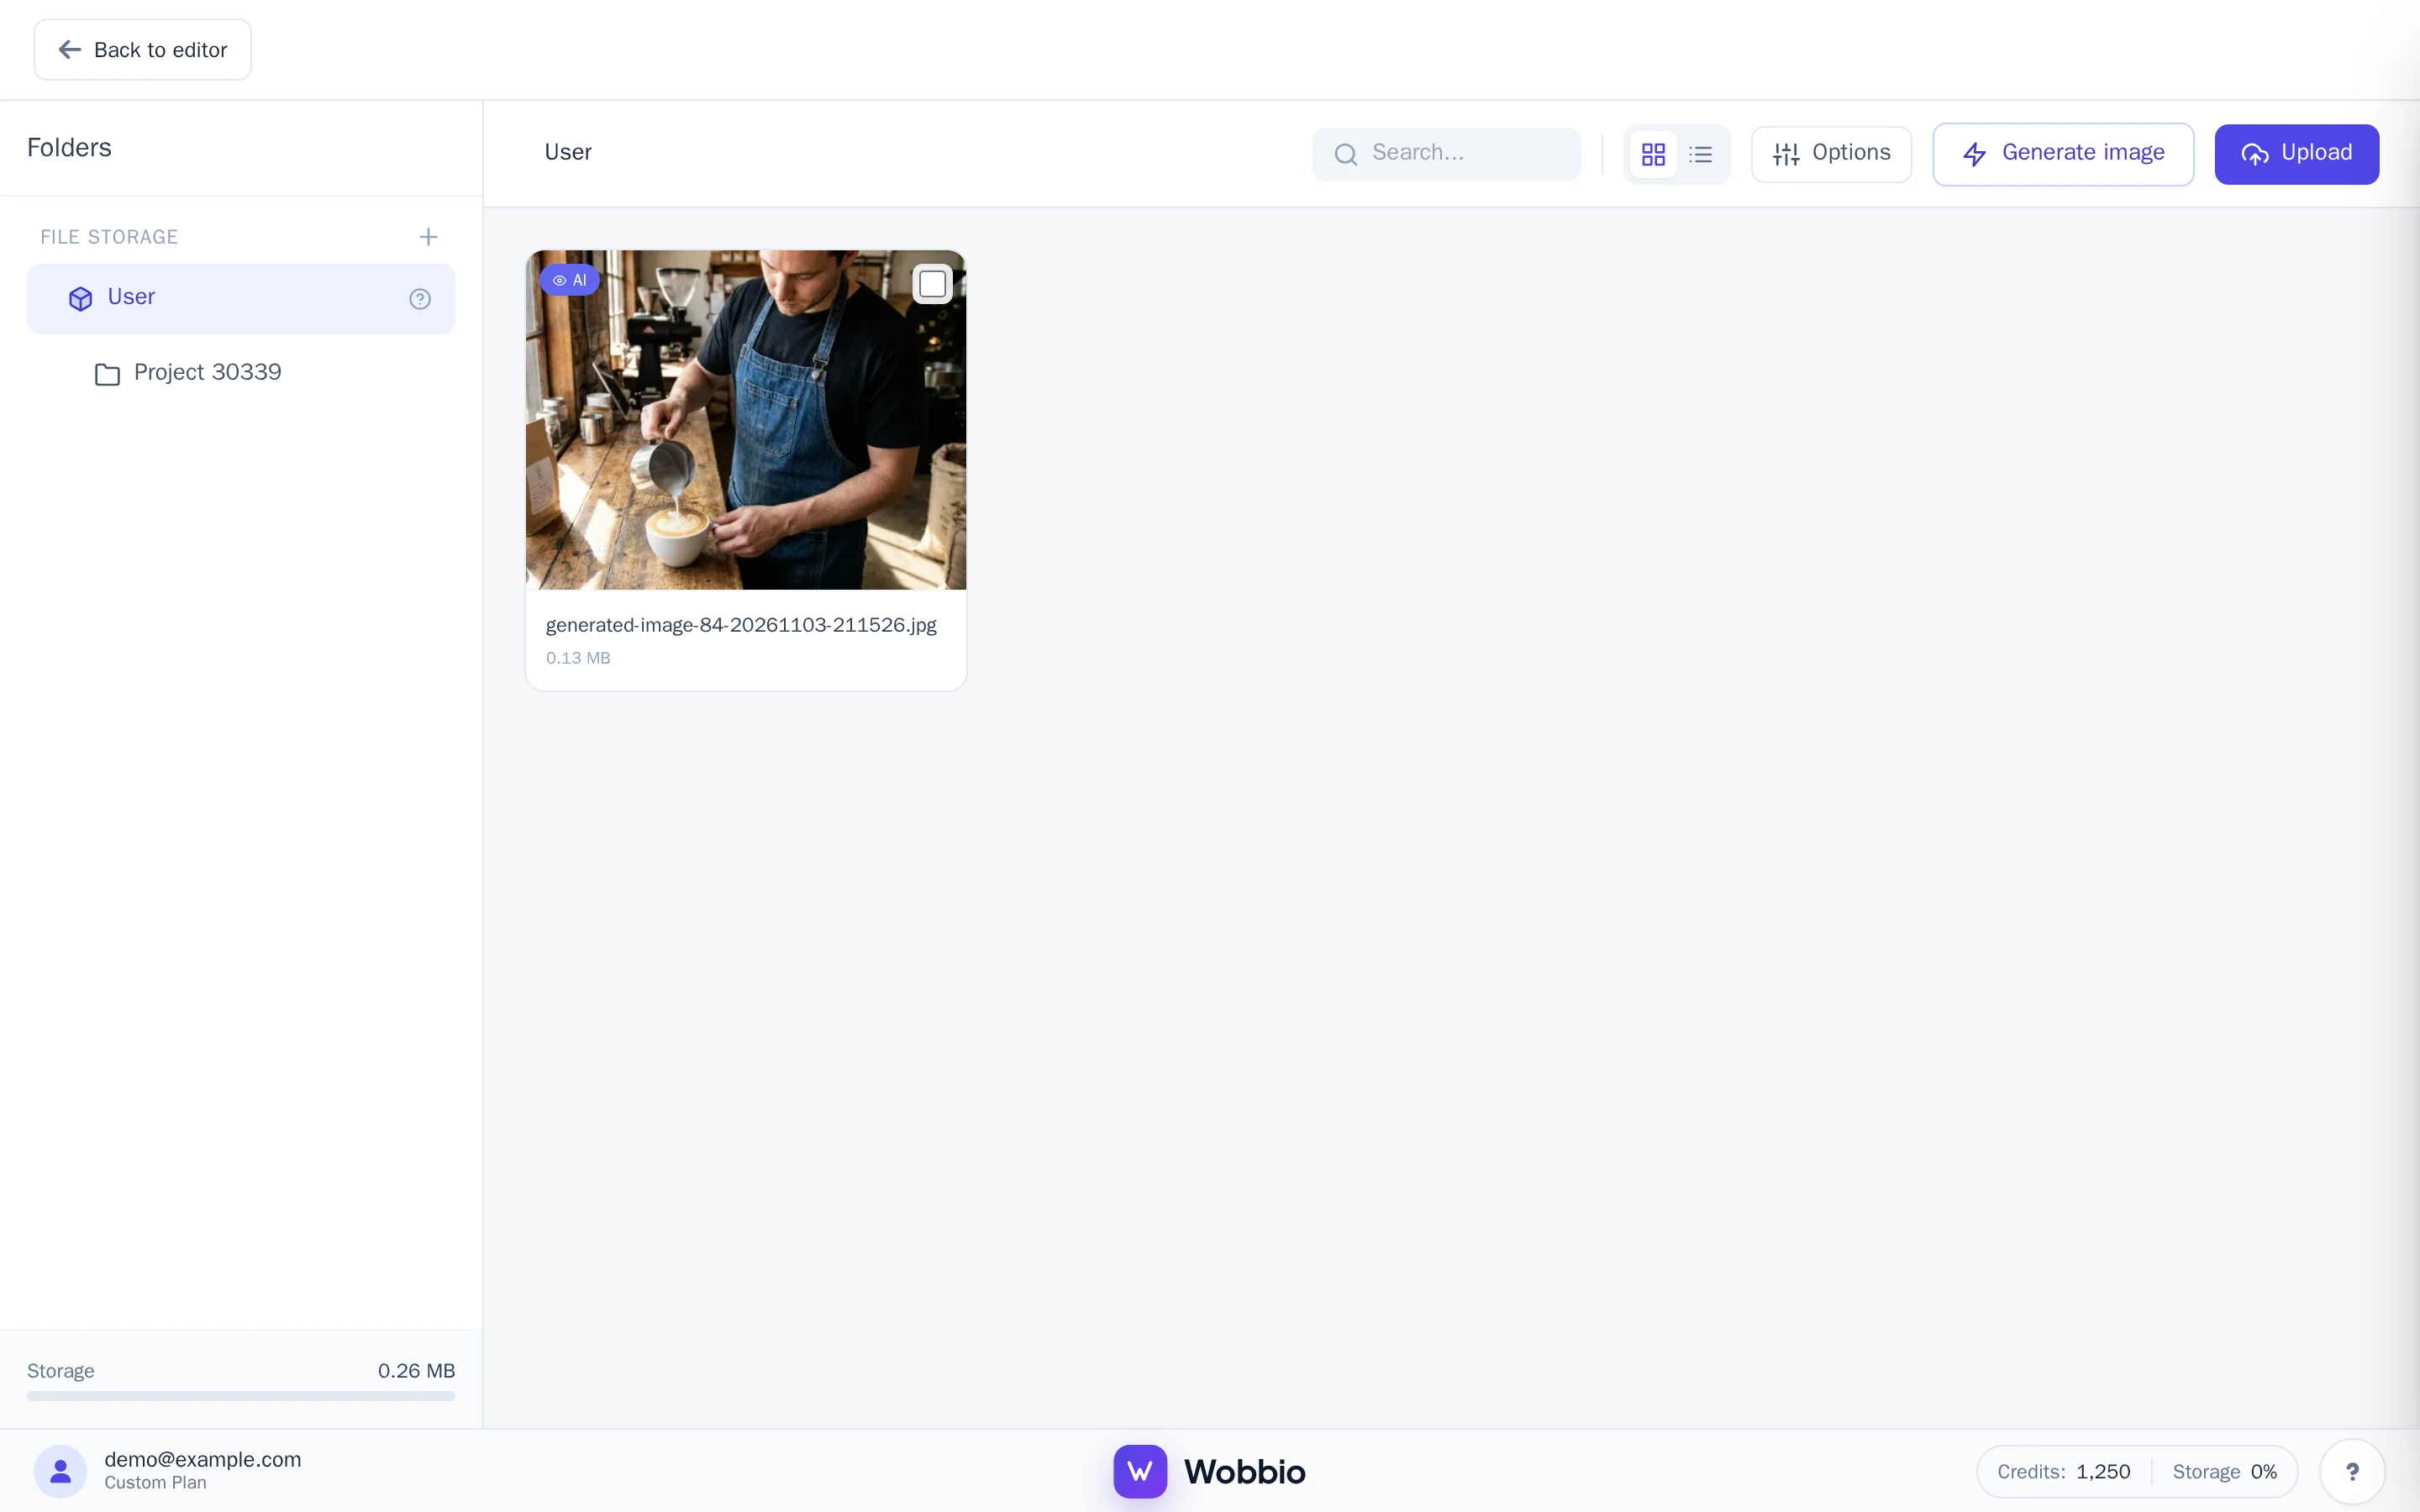
Upload your own images
- In the media library, select Upload at the top right.
- Choose one or more files on your computer or phone. Besides images, you can upload videos (MP4), PDFs and documents.
You can also upload from the editor itself: drag files onto Media in the side menu.
Generate an image with AI
-
In the media library, select Generate image. The Generate image window opens.
-
Under Describe the image, describe what you want to see, for example: “A barista pouring latte art in a cozy coffee roastery, warm morning light, photo.”
-
Want the image to look like something you already have? Add up to 14 images under Reference images, from your computer or with Add from Media.
-
Select Generate image. The window shows what it costs under Cost per image.
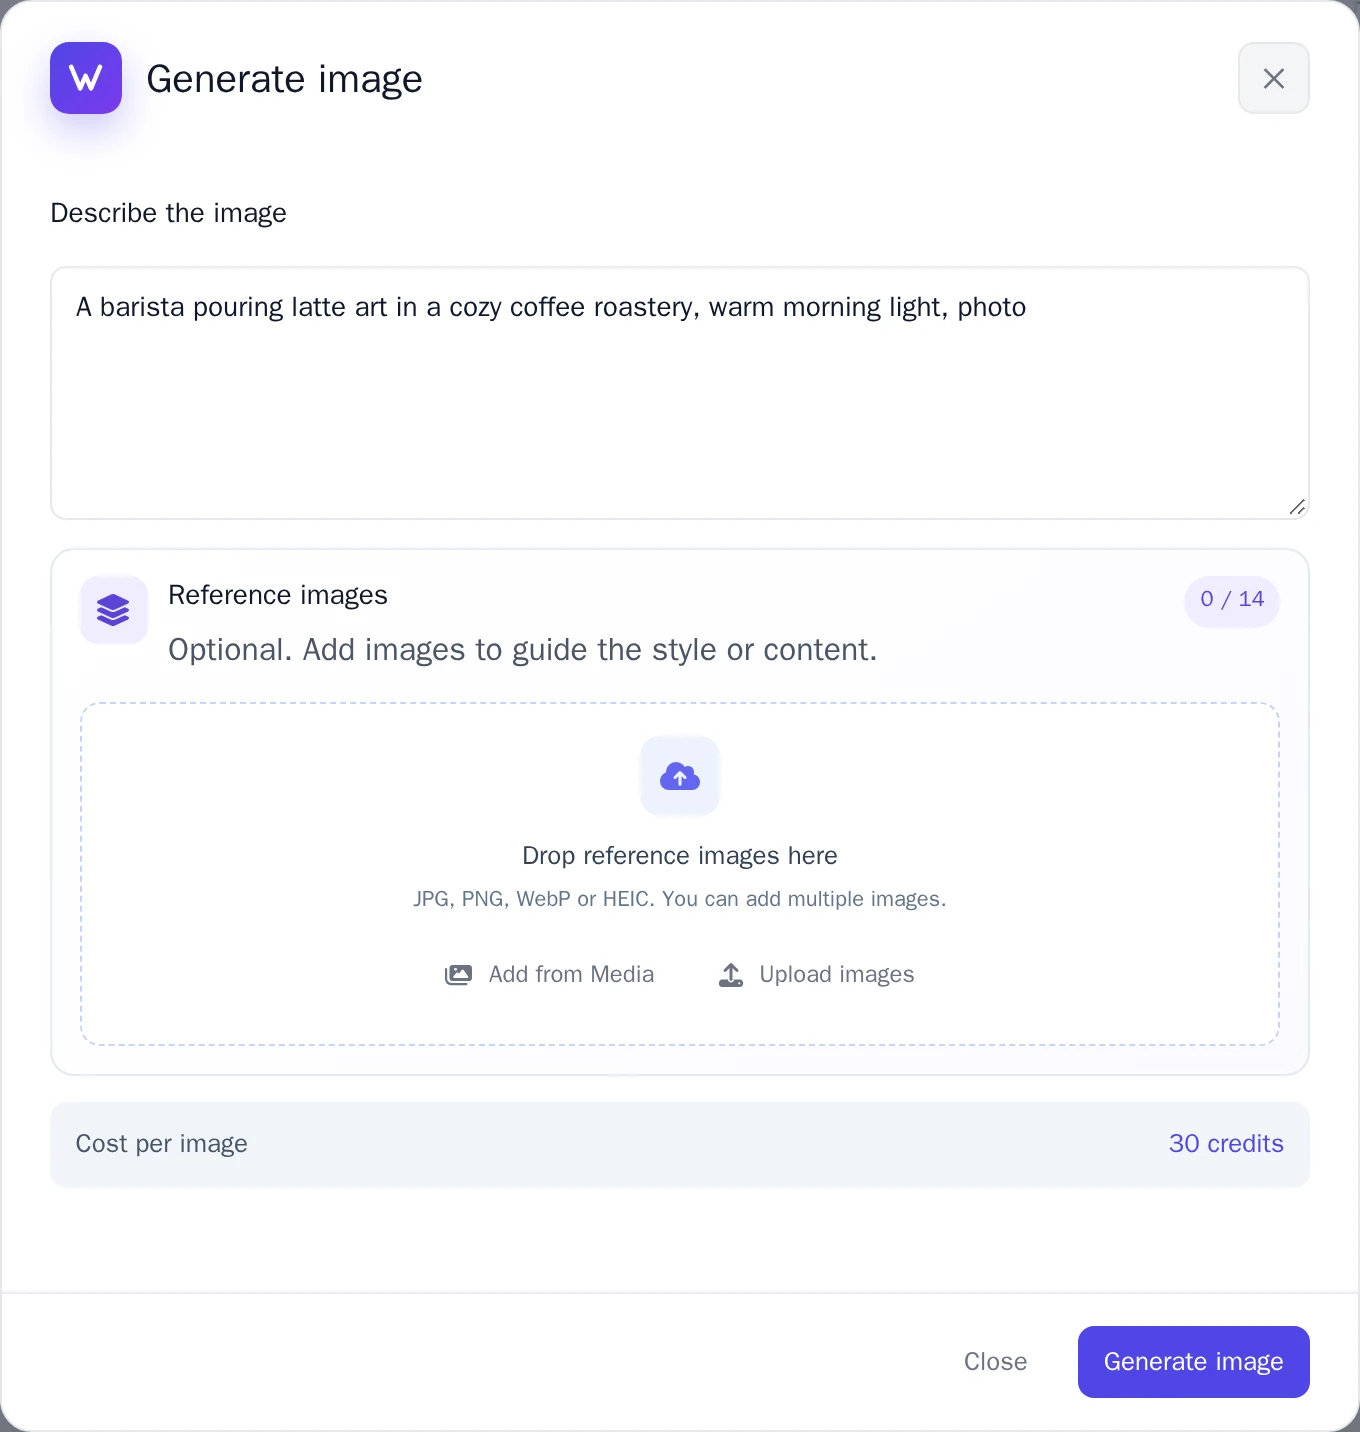
The Generate image window. -
When the image is ready, choose:
- Accept image: keep it in your media library.
- Retry: make a new one.
- Refuse: delete it again.
Use an image on a page
- Go back to the editor and open the page where the image should go.
- Ask the AI chat, for example: “Use my photo of the barista making latte art from my media library on this page, below the heading.”
The AI can look at what is on your images. Clear names help it find the right one, like latte-art.jpg instead of IMG_0412.jpg, and so does a Description in the file details.
Image details
Select an image in the media library to see its File details: its name, size, where it is used under Used on pages, and Visible to AI. Turn that off if the AI should not look at what is on this image.


