Add a contact form
Let visitors send you a message from your website, and get an email for every message.
On this page
A contact form lets visitors send you a message from your website. Wobbio keeps every message for you and can email you when one comes in. The easiest way is to let the AI add the form; you can also set it up yourself first.
Let the AI add the form
- Open the page where the form should go, like your Contact page.
- Open the AI chat.
- Under the message box, set the AI to Frontend + Wobbio apps. Without this, the AI can't add apps. See AI chat settings.
- Ask for the form, for example: “Add a contact form to the Contact page, below the heading.”
The AI adds the Contact form app with the fields Name, Email address and Message, and puts it on the page. Bigger requests can take the AI some time; if it pauses, the chat asks whether to continue.
Or set up the form yourself
-
In the editor's side menu, under In this project, select the plus next to Apps. The Recommended apps window opens.
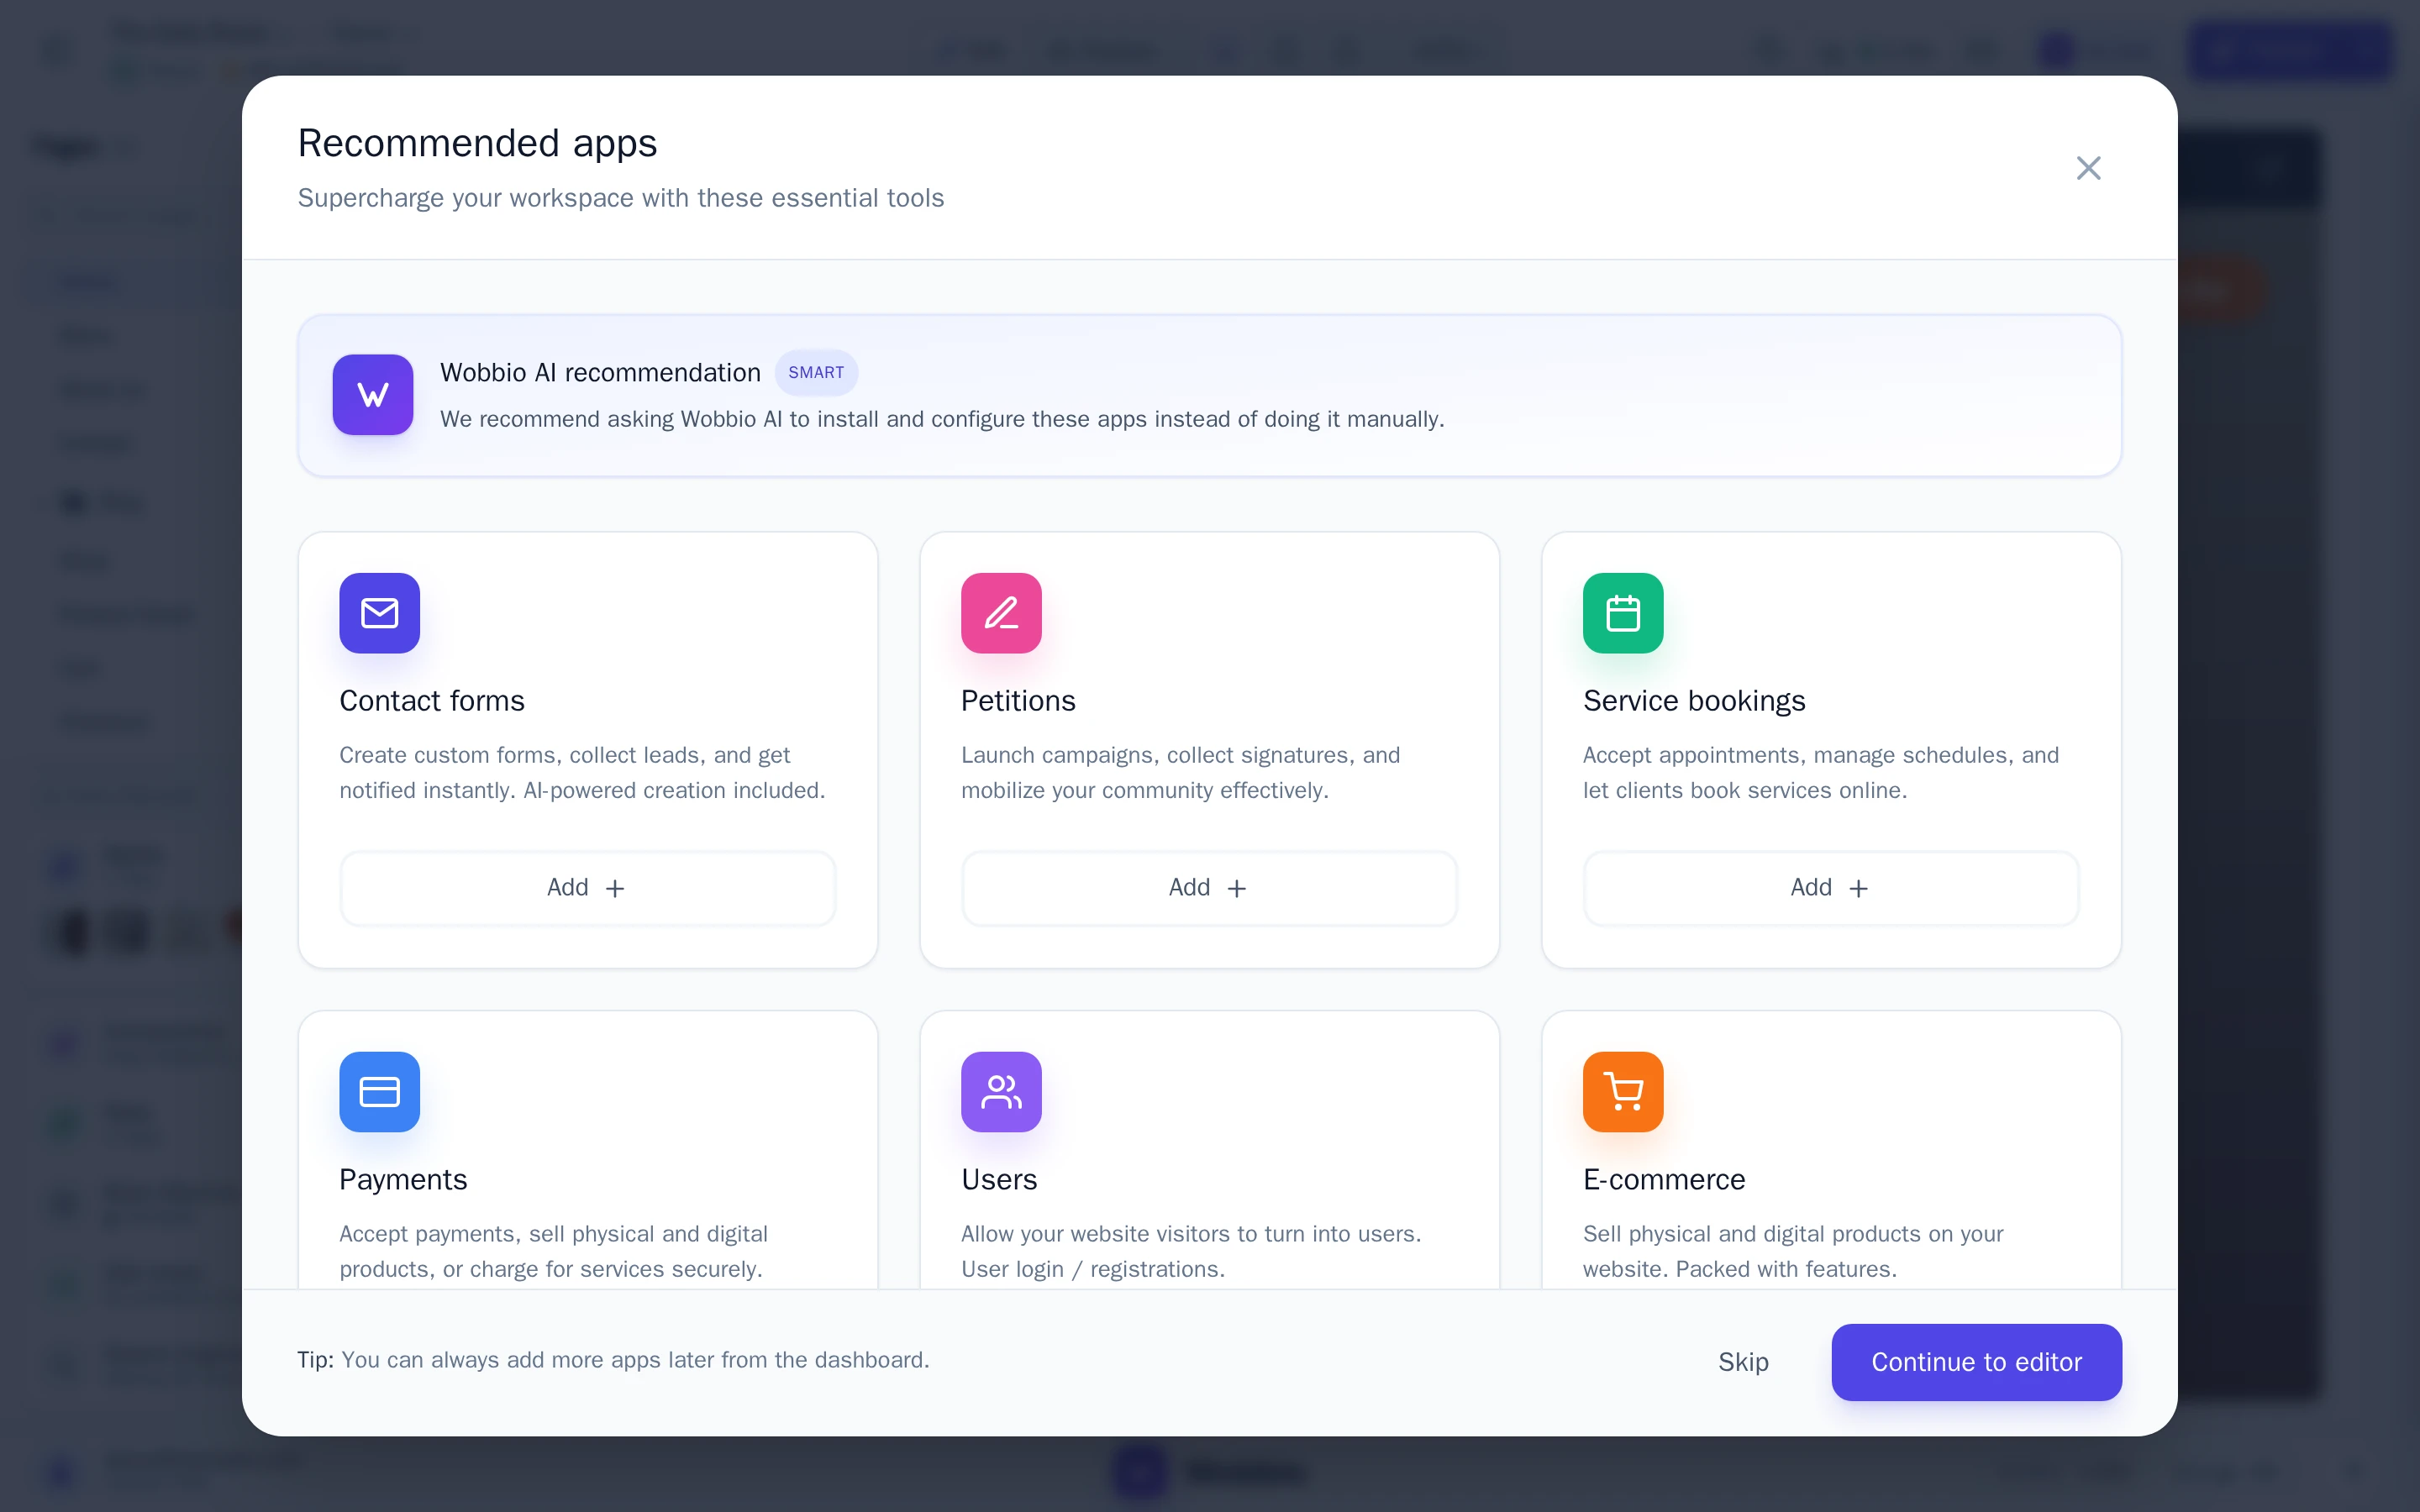
The Recommended apps window. -
On the Contact forms card, select Add.
-
Give the form a name, like “Contact form”. Visitors don't see it: it is for you, in the list of apps.
-
Check the fields. Name, Email address and Message are already there. Select Add field for more, or the pencil to change a field.
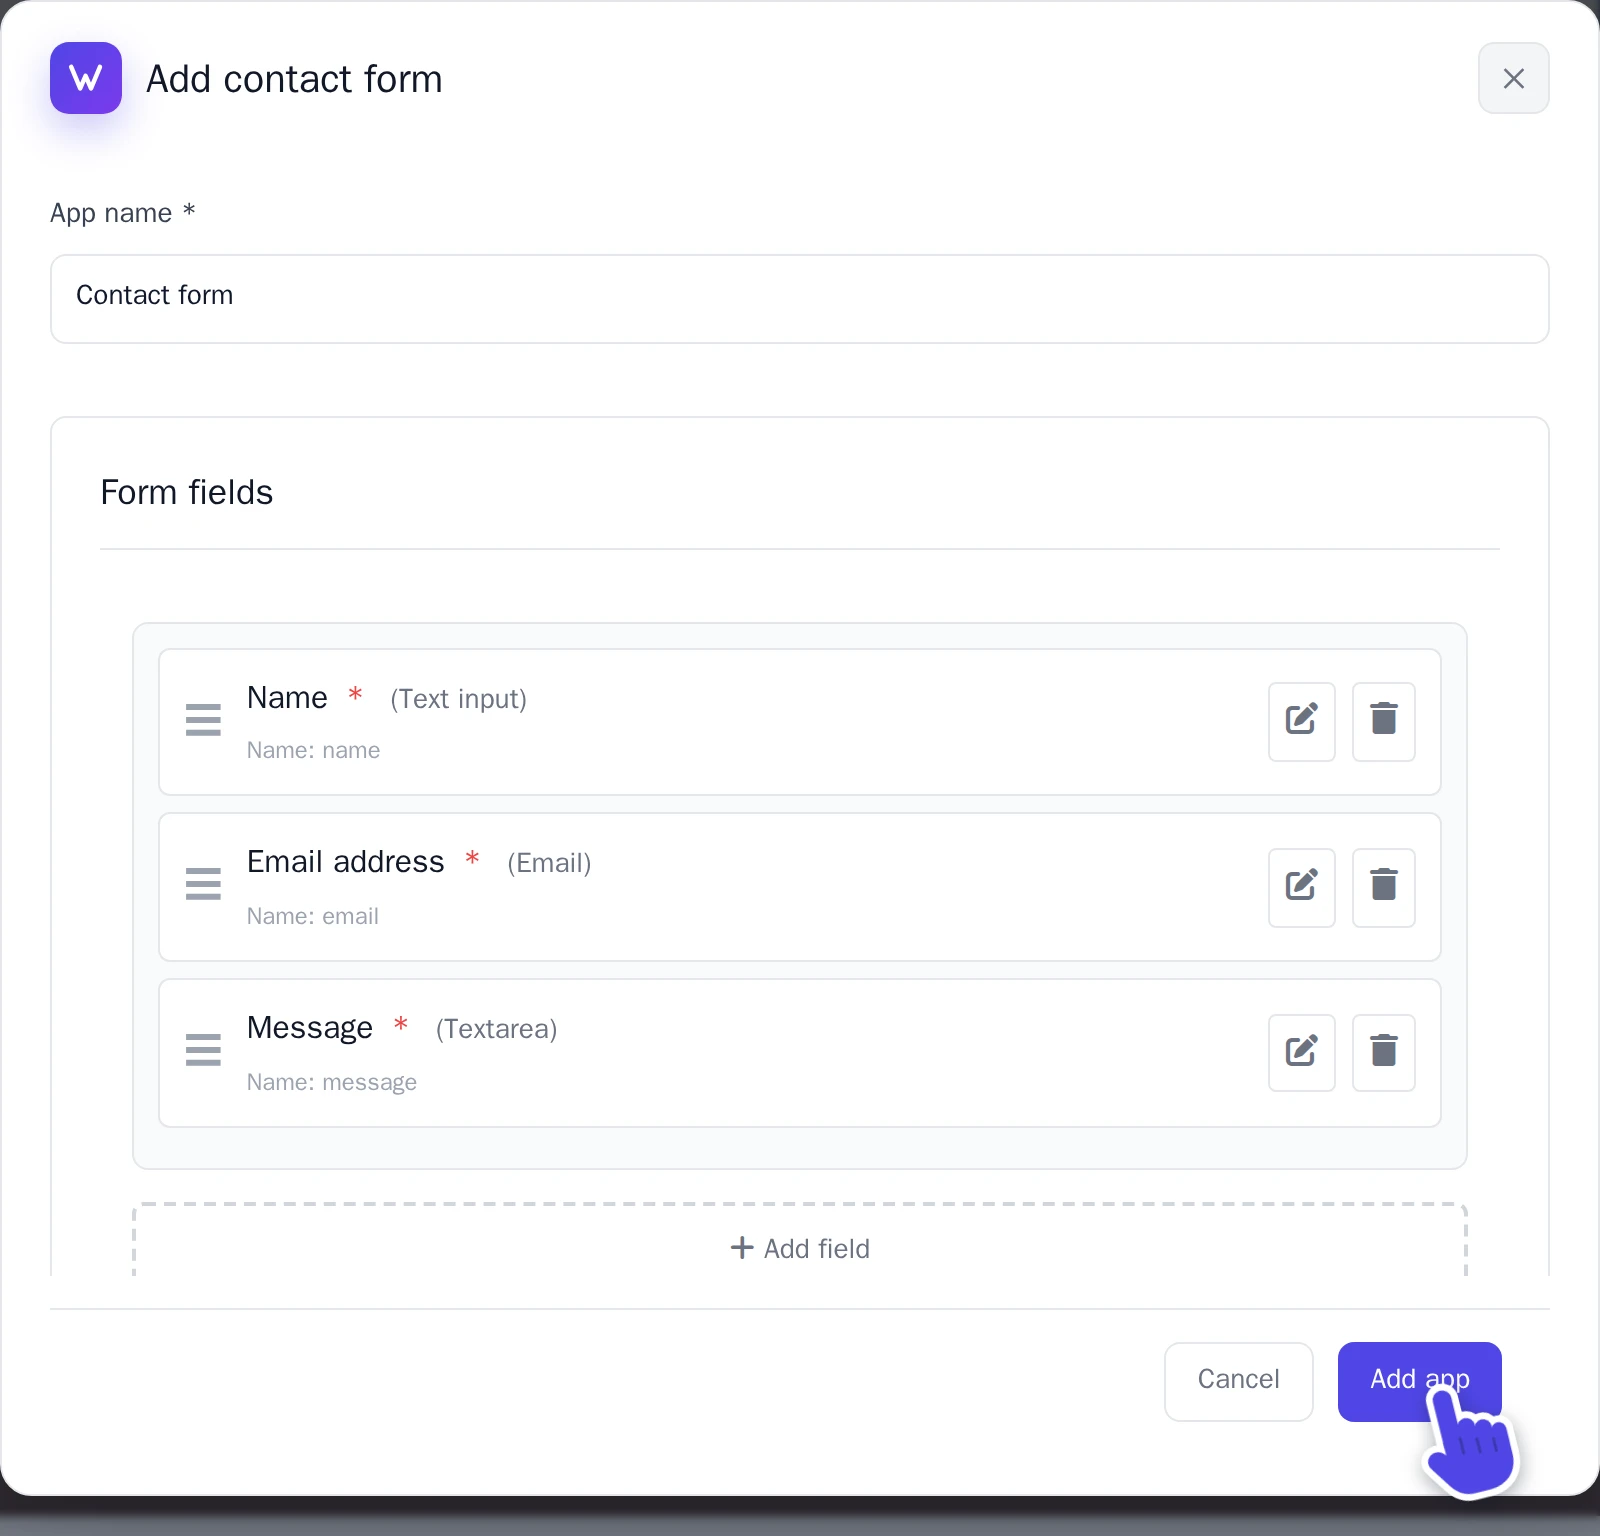
The Add contact form window. -
Select Add app.
The form is now ready, but not on a page yet. Ask the AI chat to put it on the page you want, as in Let the AI add the form.
Get an email for every message
- Under Apps, select your form. The window with its settings opens on Form settings.
- Under Email alerts, turn on Send email notifications.
- Under Send notifications to, choose your email address. Only verified email addresses can be chosen.
- Select Save changes.
You can also send visitors a confirmation email: turn on Send a confirmation email to the visitor.
Read the messages
Under Apps, select your form and then Submissions. Every message is there, also the ones that came in before you turned on emails.


